Metallic Striping Tape Nails Tutorial
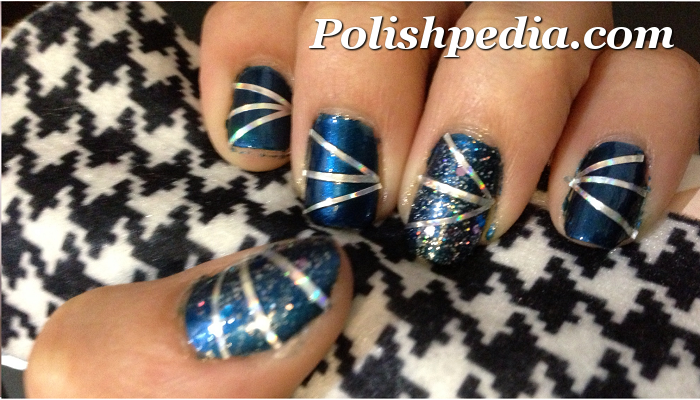
How Did I Do These Striping Tape Nails?
- I started off with my basic procedure. I applied a cuticle oil, lotion, and of course, a base coat. I then added two coats of OPI's Unfor-greta-bly Blue. On the ring finger and thumb finger, I added a coat of glitter. (NYC New York Color's Starry Silver Glitter).
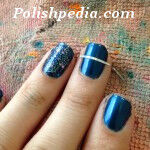
- After that dried, I opened up my nail tape package and began to apply it horizontly on my nail gently. I held one end of the tape with my thumb as I pulled the tape over my nail with my left hand. Don't worry about excess tape hanging over the edges of your nails! Once I had applied the tape to my nail, I put pressure on the very tips of the tape for security.
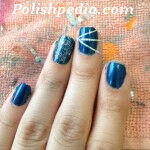
- I repeated step 2 except I tilted the tape diagnolly. I did this twice, once above the previous strip that I applied, and once below it.
- After I finished applying my nail tape, I added a top coat. Do not cut the excess nail tape hanging off the edges of your nails!
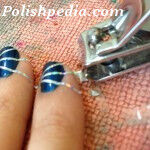
- Once the top coat has dried, cut the excess with a small pair of nail clippers. I only had a big one available, but the one I intended to use was this.
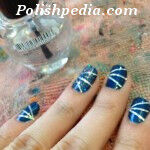
- Apply a thick top coat again for extra security and you're done! Happy Painting (:


If you have any questions regarding this nail art tutorial, please let me know through the comment form below. I would also love to know what you think of this design!