Lattice Nail Art
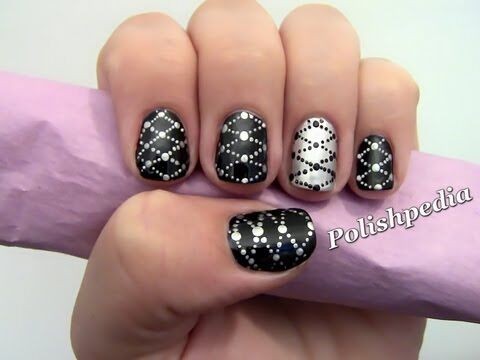
Lattice Nail Art
Don’t you just love these lattice nails? The moment that I was inspired to create this lattice nail art design I couldn’t wait to see the final result and now that I have I am even more excited about them. I can’t wait to see what color combinations other nail artists come up with. I imagine that they are going to be amazing!
In this design I used a new China Glaze polish that I just added to my collection. The color is called Platinum Silver. I really enjoy how metallic it is. I have recently been in love with metallic nail polishes and I am sure many of you have been as well.
How To Do Lattice Nails
Some interesting things that I learned while doing this nail art design are the following:
1. In order to get the small dots to all be the same size and the big dots to all be the same size the dotting tool needs to be cleaned off regularly while dotting. The reason is that if any polish dries on the dotting tool then the next dot is naturally bigger. To do this you can soak a cotton ball in acetone and have it near by to rub the dotting tool onto.
2. Patience is key with this design. Don’t rush it.
3. First make the big dots. Start with the middle row and then the outer rows. When doing the middle row a trick to evenly spacing the dots is to dot both ends of the nail and then the middle. This way you will be able to see how big or small of spaces you will need in order for the spaces to be the same.
If you have any questions about how to do lattice nail art, please don’t hesitate to ask. There is a form below this tutorial that you can use to ask your questions. I do my best to answer them as fast as possible.
More in Polka Dot Nail Art
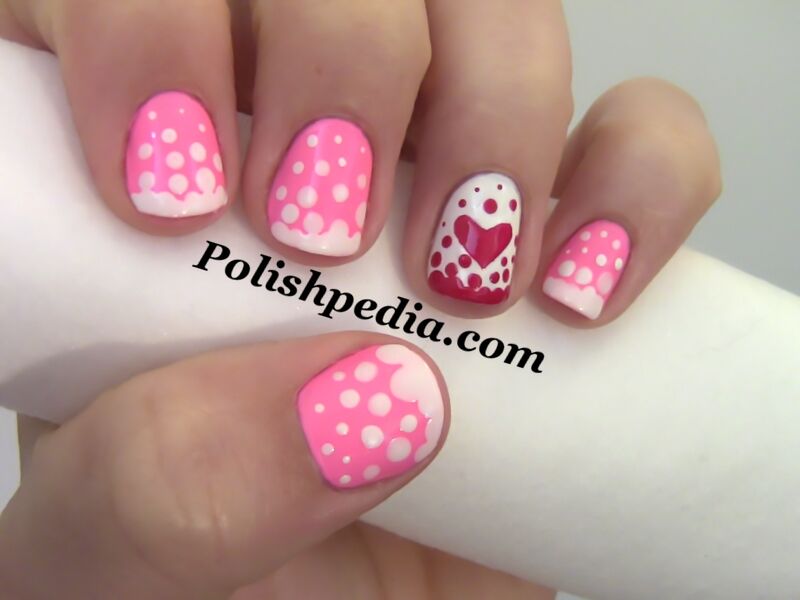 ▶ VideoValentines Day Nails
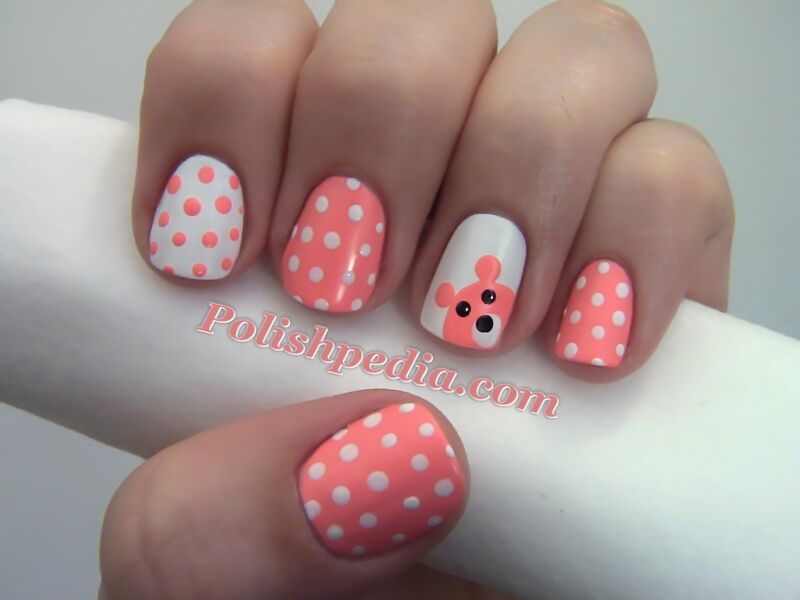 ▶ VideoTeddy Bear Nail Art
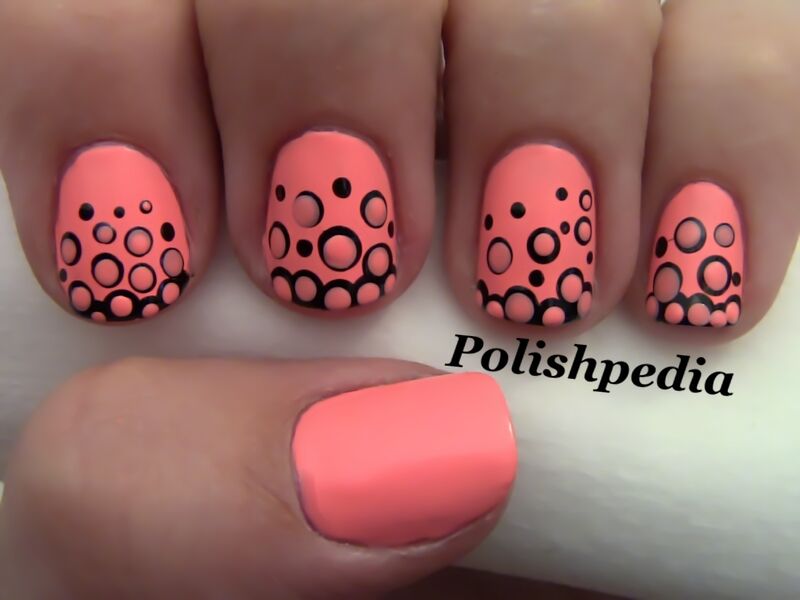 ▶ VideoBubble Nail Art
 ▶ VideoFizzy Nail Art
 ▶ VideoButterfly Nails
 ▶ VideoGradient Polka Dot Nails
 ▶ VideoMinnie Mouse Nail Art
 ▶ Video9-11 Nail Art: Remember
In:Polka Dot Nail ArtElegant Nail ArtFun Nail ArtNail ArtVideos