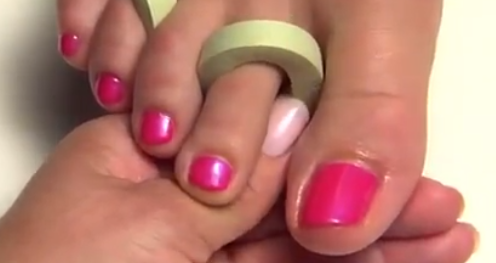
Shellac Pedicure
Thousands of women have enjoyed the Shellac Manicure.
Now it is time to pamper women’s feet with the Shellac Pedicure!

This CND Shellac in minutes video has been provided by CND. Watch and learn the Shellac Pedicure application and removal steps.
This step by step process is meant to be followed completely. Each step is designed to bring the best possible results with the Shellac Pedicure.
Shellac Pedicure Video
Shellac Pedicure Written Instructions
P.E.P.
Perform a Pedicure:
- Wash the feet in soap and water and dry.
- Massage Cool Blue into the feet to cleanse.
- Trim Nails if needed.
- Trim the corners of the nails in a 45 degree angle to prevent ingrown toenails.
- Shape and smooth the nails with a Kanga file.
- Apply Cuticle Away around the cuticle area of each nail.
- Use a cuticle pusher to lift and remove any excess cuticle.
- Wipe off excess cuticle away from the nail and surrounding skin areas.
- Use the curette and remove the cuticle.
- Use the manicure nipper to remove any loose skin or hangnails.
- Rinse with soap and water then dry.
- Separator the toes with a pedicure separator.
Eliminate Contaminants & Purify Nail Plate Layers
- Use Scrub Fresh and a Lint Free Pad to clean the nails.
- Remember that you do not need shine removal.
Apply Shellac
- Apply a thin layer of Shellac Base Coat to the nails.
- Cure for 10 seconds in the CND UV lamp.
- Before apply your first layer of Shellac make sure you shake the bottle well to blend.
- Apply 1 thin coat of Shellac Color to the nails.
- Cure for 2 minutes.
- Apply the second layer. (Keep it thin)
- Cure for 2 minutes.
- Apply a thin layer of Shellac Top Coat.
- Cure for a final 2 minutes.
- After curing is done make sure you wipe each nail with a lint free pad soaked in 99% Isopropyl Alcohol.


great stuff!